I'm totally in love!
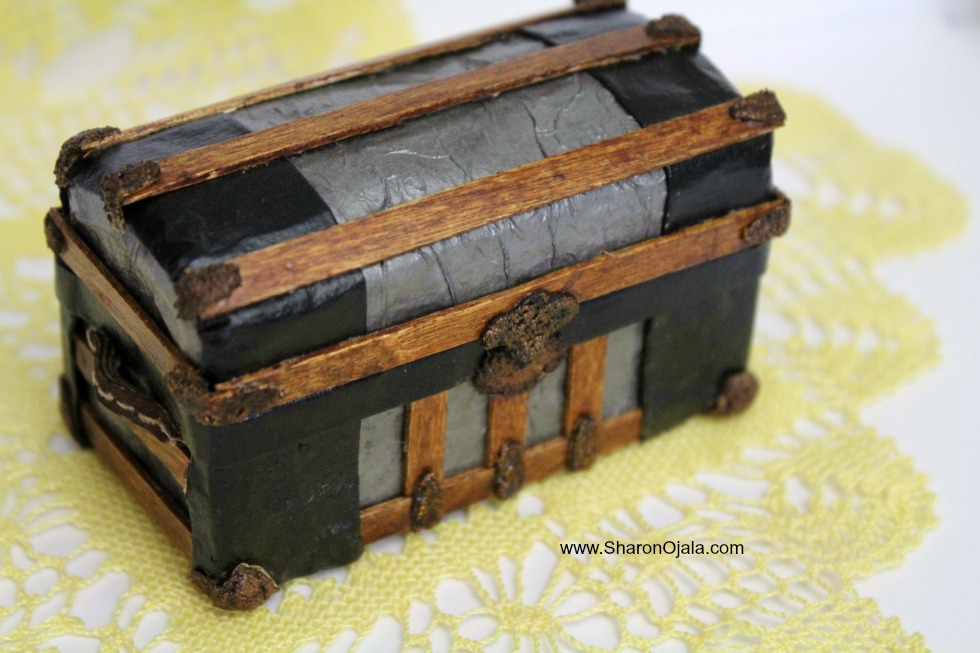
Today I finished making a dome top trunk for the dollhouse. It took about 3 days to make, that's working quite a few hours a night. If I knew what I was going to do before I started each step it might have taken less time, even though it was made pretty much the same way I made my previous one, a dome top trunk with a tray is a bit more finicky to make. But it turned out even better than I imagined it would, I'm so happy with it!
Little treasures,
I've started filling the trunk with keepsakes I thought would belong to an old Gnome lady. On one side is a bundle of old letters tied with string and with those an old black and white photo. Could one of those Gnomes in the photograph be her true love from years ago?
And surprising to find envelopes that were sent via airmail! That must of been when they had good owl postal service back in the old days. Now they just have Snail Mail and it takes SO long to send and receive letters!
UPDATE: I have a video tutorial showing how I turned a dollar store wooden box into a steamer trunk. In that video series I show how to build the tray and how to make and add the hardware. Here is part 1. I hope you enjoy!
Back to how I made the Dome Top:
I won't detail all the steps in how I made this trunk itself as you can find all those same details in how I made my previous trunk right here and in that video series I posted above.
I will explain how I made the hardware though, that was made differently and I'll show you how I did that in a minute.
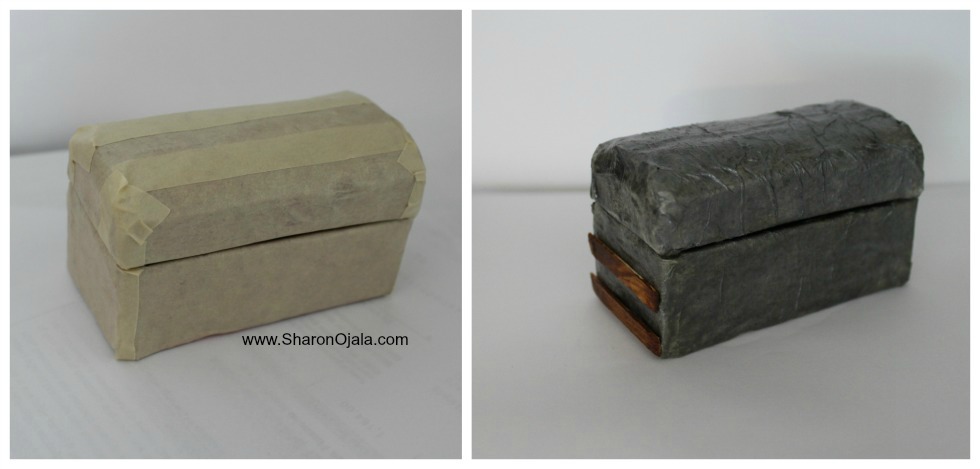
Using foil to build something like this is so great because if you make a mistake at anytime you can cut, reshape, build onto, take away and do whatever you need to do without having to start all over. Aside from clay, it's the most adjustable material I've found yet for building miniatures! And this feels just like a wooden trunk would feel and it has quite a bit of weight to it as well.
I made a flat lid first then built up the dome part on top with foil.
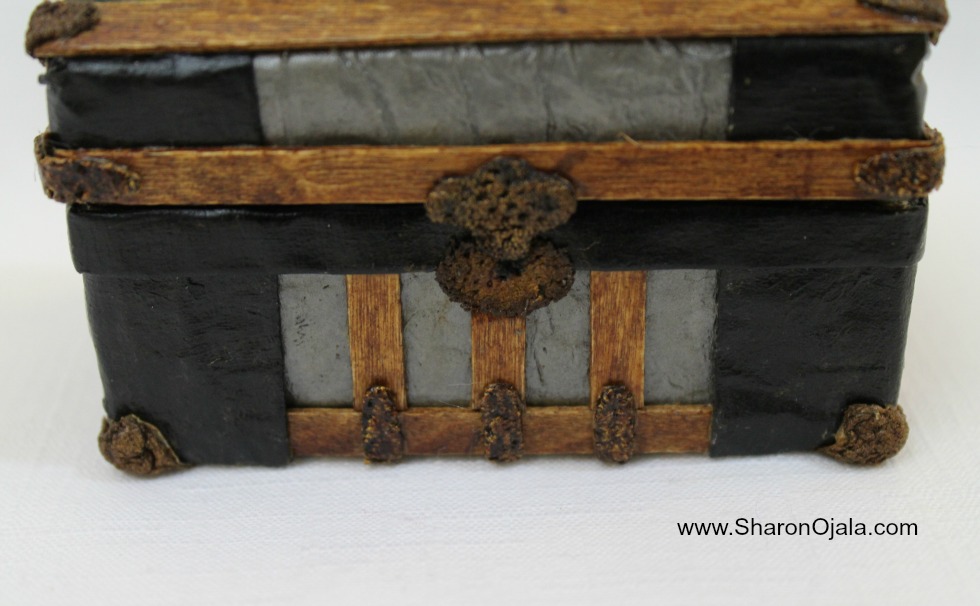
The wooden slats are wooden coffee stir sticks. The width of them is just the perfect size so all I had to do was cut the lengths to the right size. I also sanded the the very ends a bit so the tinfoil wouldn't bulge too much when overlapping the edges of the wood. The wood was stained with instant coffee then sprayed with a sealer. That is explained in my previous post as well.
The hardware:
I tried quite a few things for the hardware before settling on the most unlikely material to make them with! I tried tinfoil, jewelry pieces, printed versions but nothing looked right at all. I knew I wanted a rough surface with dips and bumps. And that's what gave me the idea for cotton lace trim. This is a cuff off of an old nightgown. I knew that the tiny pieces I needed would most likely just come apart, the edges would fray once they were cut so I lined the back with masking tape then cut all the pieces I needed. I brushed on instant coffee mixed with water (coffee stain). Once dry I took a gold metallic craft paint and lightly brushed that on, once that was dry, a light coat of the coffee stain again to tone down the shine. I used clear drying tacky glue to glue them to the trunk. Using lace was a bit weird but it works very well. I was able to make any shape I needed and it feels like the real thing once the material dried.
The tray was made the same as my previous one but with a little more flare. Unfortunately I didn't take any wip photos except for one. The tray was finicky to make so I just forgot all about photos. But it's made with tinfoil covered in masking tape. I have to add here that I was so glad that using tinfoil makes it so easy to custom size something that has to fit into something else! One end of the tray is slightly more narrow than the other side and that's just due to the inside of the trunk being a little wonky. The tray took a whole lot of time to size right and to also make the rounded compartment side with the dome top. It wasn't hard, just super finicky. I've used that word a lot in this post, I know.
First photo is it unfinished, foil tray covered in masking tape.
I decided to cover the tray in tissue paper. That way I would not add any bulk to it. It fits perfectly inside the trunk and I was scared to make it not fit right if I added anything with any thickness to it. But in the end the tissue paper looks vintage and I like the looks of it.
I hope this gave you some ideas for your own old trunk. Please join me on facebook. and post pictures there of your own makes, I'd love to see!


I am in awe of your creativeness. <3 thank you for my daily journey to another world.
ReplyDeleteThis is awesome. I love the details!
ReplyDeleteThat is so very beautiful. I have an old oatmeal container that I am going to try my hand at making a gnome house. I will be re-watching your videos for sure!
ReplyDeleteThis is so interesting and intriguing. Now I want to make a mini trunk. Love everything you make and your stories too! from another Sharon (Indiana, U.S.)
ReplyDeleteUna preciosa creación.
ReplyDeleteLove the trunk 'beautiful' thank you for sharing how it was made...can you please tell me where you got your latches from ? Mini regards rosm
ReplyDelete