Hi everyone,
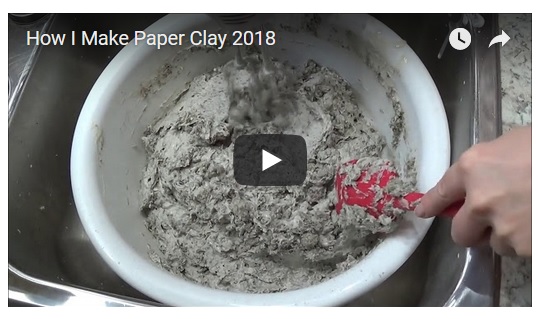
I've updated the video showing how I make the paperclay that I use to cover walls in my gnome homes/fairy houses or dollhouses. Please note the ingredient list does not have to be followed to exact amounts.
Once you start making your own clay, you will adjust things to your own liking just as I have. I just hope this video is helpful and shows how easy it is to make your own clay.
I use this mostly for interior walls of my dollhouses, as pictured above, but I also use it for making my creatures too. Although it really isn't the best clay for getting fine details, it works well for for creatures that will be covered in a faux fur. This is the same clay I've used to make my mole, rats, mice and troll that you see here on my blog.

To make a 1/2 a bucket of clay as shown in the video:
- 3 cups of flour
- 3 tablespoons of salt
- 1/2 cup to 1 cup of liquid starch - recipe below
- 1 cap to 2 cap fulls of Mr.Clean or other nice smelling cleaner
- 1 cup or more of drywall compound
- 1/2 cup or so of pva glue - white glue
- 3 or more cups of hot water ~ just enough to make the mixture into the consistency of light pancake batter
- paper insulation - known as cellulose insulation
Using an electric beater, mix the first 7 ingredients together for about a minute or so then start adding the insulation. Stir in the insulation so it gets wet then use the electric beater to thoroughly mix it all together.
Keep adding the insulation, small amounts at a time, and mixing until the paper clay is not sticking to your hands. You should be able to roll it into a ball.
Disclaimer:
Use a cheap beater. If you overwork the beater you could burn out the motor so be sure the beater you're using isn't anything fancy or expensive. I use an old one I found in a thrift store. If mine burns out, no big deal for me. However, I've been making this clay for a couple years using the same electric beater. Maybe I'll get another couple years out of it yet!
Let It Dry!
You have to make sure the clay is completely dry before painting. For large areas such as walls inside a dollhouse, I use fans and leave them dry overnight.
For smaller things, I use the oven to dry them on a low heat, between 175 and 185 degrees.
Disclaimer:
I believe everything used in this clay is safe. However, I keep my windows open when drying this clay in the oven. If you are worried about fumes, please speak with a professional at your local hardware store.
How to make your own liquid starch:
- About a tablespoon of corn starch
- 1 cup hot water
Stir the corn starch and water together in a cup. Pout it into a pan and bring to a boil. Whisk the mixture until there are no lumps then remove from heat. You can let it cool or pour it in hot. You can use a 1/2 cup or use the whole cup. I've done it both ways with the same results in the end.
Where I found this clay recipe:
Years ago I was searching for clay recipes and found Scott Stoll. He literally changed my life, I'm forever grateful for his clay recipe. He makes this clay in large batches using an industrial tool to mix it all up.
I struggled with self doubt when I made my first batch that I mixed by hand. I finally got it down to a point where I can make it as I show you in the video, quick and easy with no doubts! I want to share with people how easy it is and also take away any self doubts they may have when making it too. I also want to show how you can make it in your kitchen :)
Please visit Scott's website, he has awesome things to show you.. awesome Halloween related things!
Thanks for stopping by!
Let me know how the clay works out for you. Have any photos to share with me, post them on my facebook page here
Thank you I have been trying with papier maché with very poor result so that will save all my work...
ReplyDeleteThanks for sharing this. I use a similar recipe but yours looks easier so will give it a go. It is definitely less dangerous than the polymer clays that I need for some items!
ReplyDeleteThanks for sharing Sharon, its great mate :)
ReplyDeleteThanks for sharing this is great
ReplyDeleteCan this be used outside in the weather?
ReplyDeleteyou would have to seal it with an exterior sealer or a boat varnish to make it weather-proof
DeleteJust love your crafts and so grateful to you that you share your talented crafting creations with us!!!
ReplyDelete