For the mini kitchen,
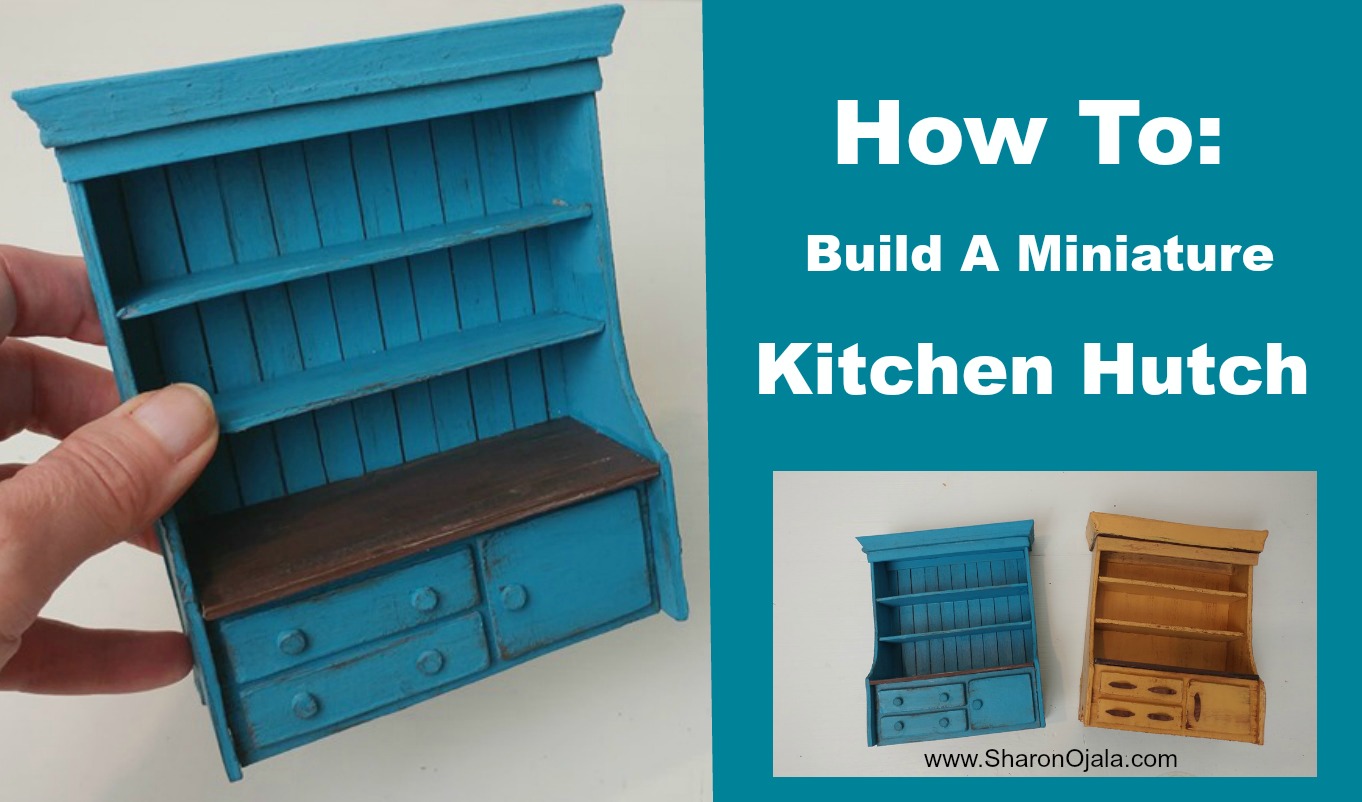
There was no wood used to build this hutch. It can be made from chipboard, foam board, or cardboard. The blue hutch was made with chipboard and the yellow hutch made from cardboard. This hutch is easy enough for a beginner to cut, paint, and assemble!
I believe the finished size of the hutch to be suitable for the 1:12 scale. It is 5 and 1/2 inches tall x 4 and 1/4 inches wide. The deepest part is 1 and 3/4 inches. (Approximately 14cm x 11cm x 5cm)
Let's get started!
I have provided a full video tutorial for you, please give it a thumbs up if you find it helpful.
All the measurements for the pieces are given below along with some brief explanations and photos.
Supplies:
chipboard or cardboard or foam board.
If you use cardboard then also get wood filler or something similar to fill in open edges of the cut cardboard. This will make the edges solid and paintable.
tacky glue
hot glue
x-acto knife
scissors
ruler
paint
paint brushes
sandpaper
Optional but very helpful - cutting mat
Optional - clear sealer
Step one:
If you decide to make your own chipboard you will need 4 large cereal boxes. That will give you 8 sheets of cardboard, each approximately 7 x 11 inches with all the flaps cut off.
Stack 4 sheets together making 2 pieces of chipboard 4mm thick.
My tutorial for making chipboard is here.
All measurements are given in inches. Inch to cm converter here
Step two cut:
1 Back piece: 4 1/4 x 5
2 Side pieces: 1 3/4 x 5
1 counter top: 1 3/4 x 4 1/4
We need to cut a little off the length of the counter top so it fits perfectly in between the side pieces.
Hold the 2 side pieces together and place them on one end of the counter top, draw a line marking the exact width of the 2 side pieces together. Cut this width off of the counter top.
2 Shelves: 1 x the same length as the counter top
1 front piece for the door and drawers to sit on: 1 1/2 x same length as counter top.
2 drawers: 1/2 x 2
1 door: 1 1/2 x a bit less than 1 1/4
5 small circles for handles - I used scissors to cut these circles and then used sandpaper to clean up the edges.
I included an alternate way to make handles in the video. I attached the handles after the hutch was assembled and the door and drawers glued in place.

Step 3: Design the side pieces
I cut out a bit at the bottom of each side piece as pictured.

Draw a line 1 inch, measuring from the back to the front of the side piece.
From 1.5 inches point from the bottom and front of the side piece, draw a curved line to where the first shelf will sit.
Cut from the top down.

Step 4: Optional design for the back piece,
I cut lines across my back piece by marking a line for each centimeter then passing my x-acto knife through each line, I did not cut right through! These cut lines look like separate boards. I did not try these cutting lines on regular cardboard.
However, if you are using cardboard you can "cut in lines" by drawing them. Or leave it plain, it looks good either way.

1 board: 4 1/2 x 1 3/8
1 board: 4 1/4 x 1 1/8
2 strips: 3/8 x 4 3/4
2 strips: 3/8 x 1 3/8

Cut the corners of each strip, just a little bit off, on an angle. It's best to cut too little than too much. You can always trim more once you're ready to assemble.
Glue the smaller board in the center of the larger board.
Add a bead of tacky glue all around the inside edge of the larger board and place each strip inside the glue on a slight angle. You might have to trim the length of the strips to make them fit.
After the piece has been assembled add another bead of tacky glue all around the edge to ensure the pieces stay intact. Set aside to fully dry before painting.

Cut 2 more strips for the top of the hutch, (not pictured)
One strip at 1/4 x 4 1/4. This gets glued on after the top piece is glued onto the hutch.
One strip at 1/4 x 4 1/8. This will be glued inside at the top to hide the seam where the back piece meets the top piece.
Paint all the pieces then assemble,
I painted all pieces the same color aside from the counter top and the underside of the top piece of the hutch. Assemble from the bottom up, please view video at 22:23 for best results.


I hope you enjoyed this tutorial and found it helpful. If you made one, I'd sure love to see it. Post pictures on my facebook page Where the Gnomes Live.
Thanks for the easy to follow directions! I used balsa wood and it worked out great. Had to watch the war page when I painted and glued though. If I knew how to include a picture of the finished product, I would. Next time, would use wainscoting for the back.
ReplyDeleteVriendelijk bedankt om deze door jou gemakkelijke tutorial met ons te delen. Mvg Gina Belgium
ReplyDelete